Checklist for Site Managers: Systematically Inspect Glass Surfaces Before Acceptance
The final weeks before project handover are often the most intense. While the various trades are pushing toward completion, you as the site manager must ensure that every detail meets the agreed quality standards. Glass is a particularly challenging material in this context: it is one of the most expensive building components and, at the same time, highly susceptible to damage during the final cleaning phase. Nothing is more frustrating than a complaint from the client after the invoices have already been paid.
To help you navigate this critical phase, we at Polygon Smart Repair have compiled a guide. It will help you inspect glass surfaces efficiently and with professional expertise.
The physics of perception: When is a defect actually a defect?
Before you reach for the checklist, the environment is crucial. Glass should never be evaluated in direct sunlight, as reflections can make many defects invisible. Ideally, assessment should take place in diffuse daylight or under an overcast sky. According to SIA standards, inspection is carried out from a distance of approximately 2 to 3 meters at a perpendicular viewing angle.
Your 5-point on-site checklist
- Maintain the correct viewing distance
Inspect the panes systematically from top to bottom. What is not visible from a distance of 3 meters under normal room lighting is often not considered a defect. However, be aware: in high-end projects, client expectations are often higher than the standard—this is where good judgment is required. - Identify mechanical damage
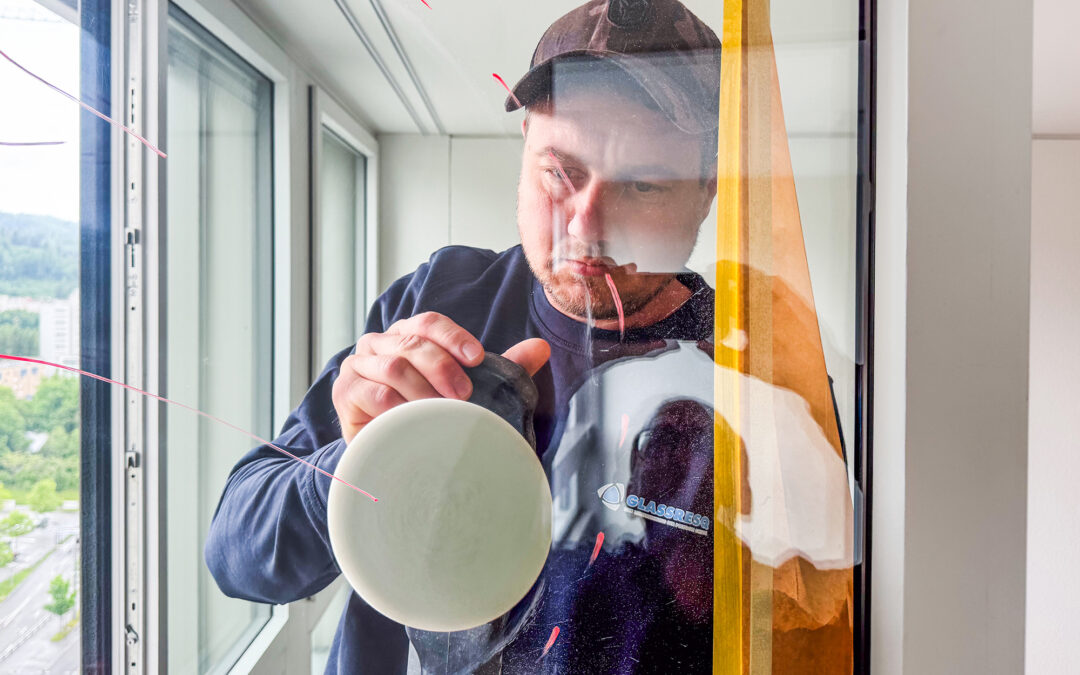
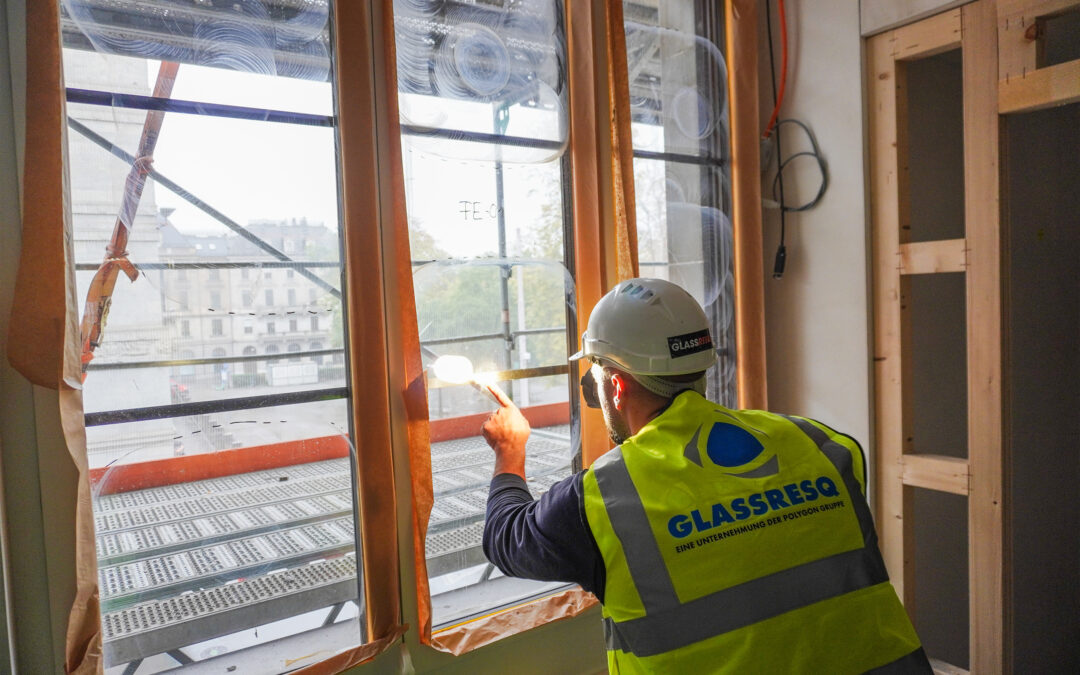
Look for scratches, scuffs, or point-like “pitting” (impact marks). If in doubt, use a flashlight and move it at a shallow angle across the surface (raking light) to make irregularities visible. - Assess residues
Are they merely stains, or are they “burnt-in” particles? Cement haze or metal splashes from grinding cannot simply be wiped off—they require chemical or mechanical specialist treatment. - Inspect edges and perimeter areas
Check the edges for shell-like chips. These can create thermal stress and may later lead to spontaneous glass breakage. This represents a significant risk during the warranty period. - Documentation without adhesive residues
Never mark defects directly on the glass using aggressive adhesive tape or permanent markers. Residues can become permanently embedded due to UV exposure. Instead, take photos with a reference object (e.g., a coin) and record the position on the floor plan.
If you find issues: Polygon is your backup
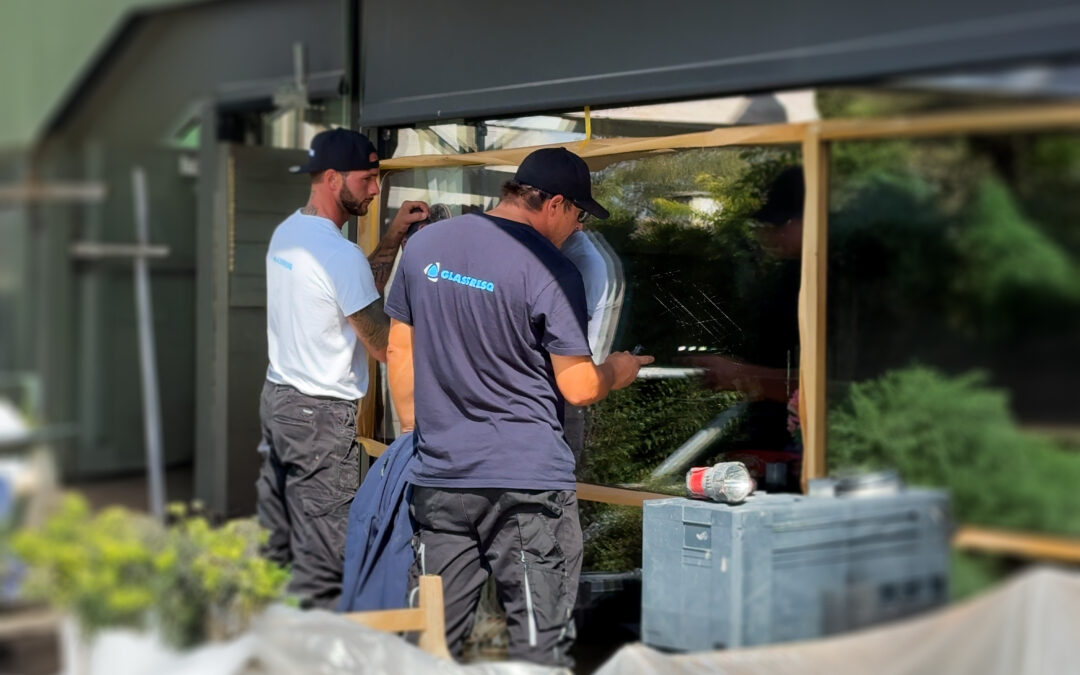
Have you documented scratches or etching? Then it’s time to act quickly. As Switzerland’s market leader in glass surface restoration, GLASSRESQ specializes in repairing exactly these types of defects on site.
From our headquarters in Wädenswil, we deploy experts to all cantons to help save your project handover. In many cases, we can carry out repairs at short notice so that tenants are welcomed with perfectly flawless glass upon move-in.
System beats chance
Those who inspect glass surfaces using a structured approach identify defects before they turn into costly disputes. Timely restoration is always more economical than a full replacement under time pressure.
Do you need a professional assessment of glass damage?
Send us a photo or give us a call. We support site managers across Switzerland in delivering uncompromising quality.
Contact the specialists at GLASSRESQ – we save your glass.